Despite having a Honda 750 four in the seventies I was not aware of its smaller brother the Honda CB350F Four until recently. Looking for a winter project I saw a 1973 model online which had been imported from the States.
Researching the model I learned that the CB350F, was only manufactured from 1972 to 1974. Unfortunately, the CB350F was overshadowed by Honda’s already popular CB350 twin. Lighter and even more powerful than the four-cylinder model, the twin enjoyed greater success and became a go-to choice for many riders during that era. Interestingly, while the CB350F was available in many parts of the world, it never made its way to the UK market. The bike struck me as being a little unusual and most parts seemed readily available so I went ahead with the online purchase.
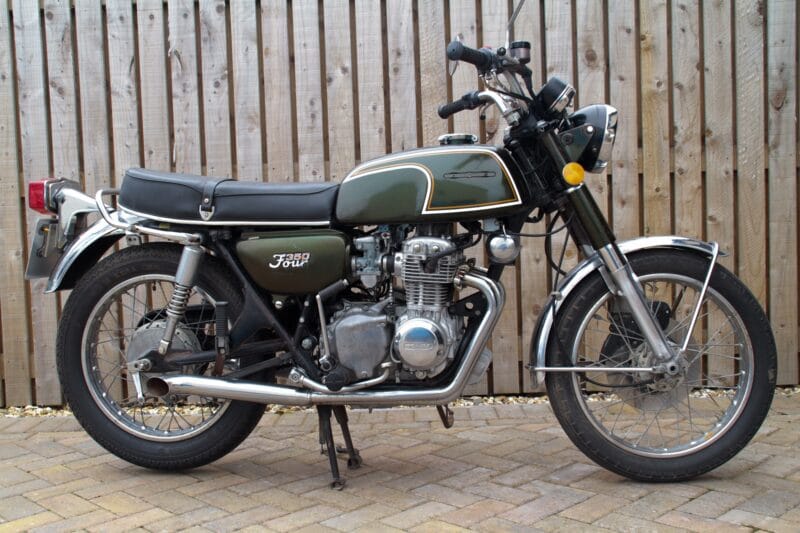
First impressions when the bike arrived were mixed. The tank badges and indicators were missing but otherwise the bike was complete. The front brake didn’t work. Sitting astride the bike I took an immediate dislike of the high rise handlebars which are fitted as standard on the U.S. model. The exhaust pipes were very badly corroded and awful. On the plus side the bike looked straight and free from crash damage. The mudguards although lightly pitted were free from dents and in good order. There was a very slight crease across the tank, but importantly it was free from internal rust. The engine turned over freely on the kickstart but there was an oil leak from rear of the sump.
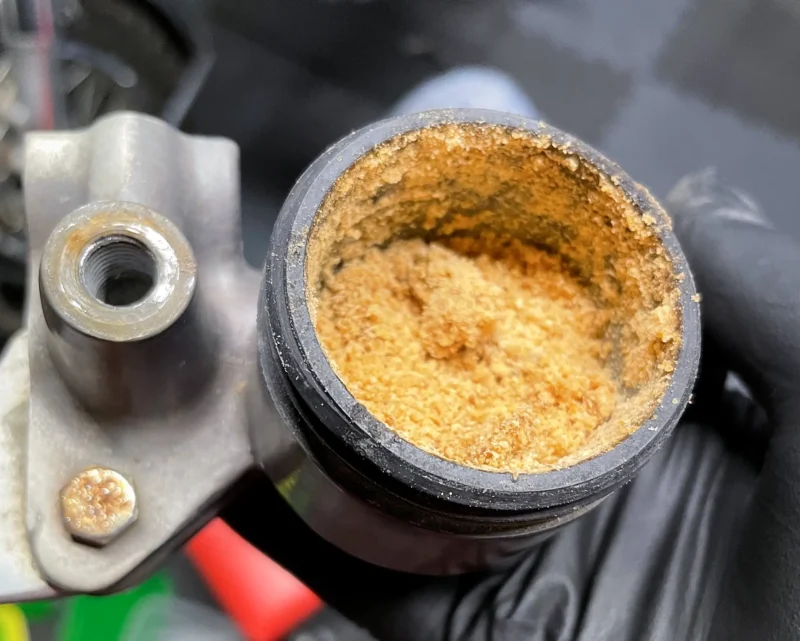
Disassembly is always enjoyable, taking as many photos as possible paying particular attention to wiring connections and control cable runs. Parts were cleaned, sorted and placed in storage bins. I’d already joined the Honda-SOHC Forum before I got the bike which proved invaluable. The many build threads and guides as well as helpful advice from members was invaluable.
The frame, swingarm, stands and brackets were powder coated by Triple S who I’ve used before. Not the cheapest but they do a great job. Headstock bearings were replaced with new standard Honda bearings rather than taper roller replacements with which I’ve had trouble in the past. I replaced the worn original bushes in the swingarm with third-party bronze bushes.
Wheel building is a step too far for me so both hubs were sent to Full Circle Wheel Building who rebuilt the wheels with stainless steel rims and spokes. To complete the period look I fitted a pair of K82 tyres.
Except for a couple of niggles the engine came apart quite easily. The oil filter bolt had been severely overtightened and I had to drill it out. One of the bolts securing the sump to the crankcase had been overtightened and had sheared. This seemed to be the cause of the oil leak. Fortunately it came out very easily with a left hand drill and I didn’t need to use an extractor.
I’d seen a number of warnings on the forum about crash bars commonly installed on these bikes. They’re held in place partially by two longer bolts at the lower front of the engine. If you decide to remove the crash bars but reuse those longer bolts there’s a significant risk that the bolt ends could puncture the crankcase. I could see that this had nearly happened on this bike. There were bolt marks on the case but fortunately they hadn’t been fully tightened and the case had not cracked. A local alloy wheel company stripped the old paint off the crankcases in their dip tank. After a good clean I then painted the cases with high temperature silver paint.
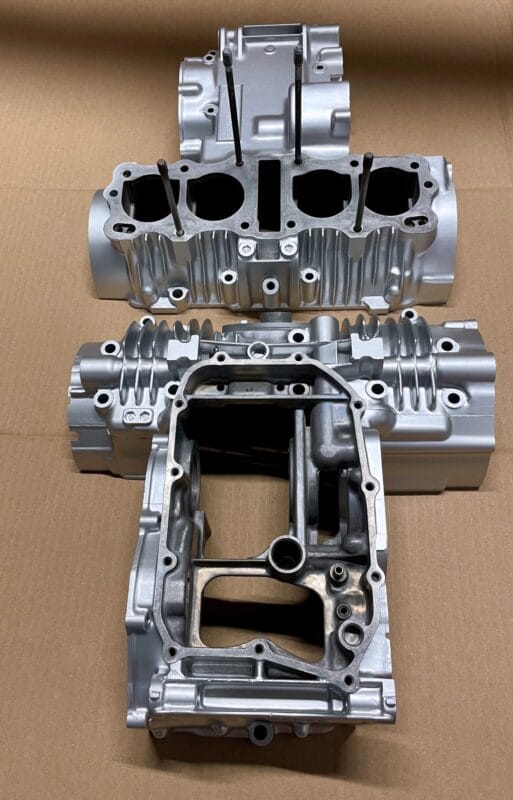
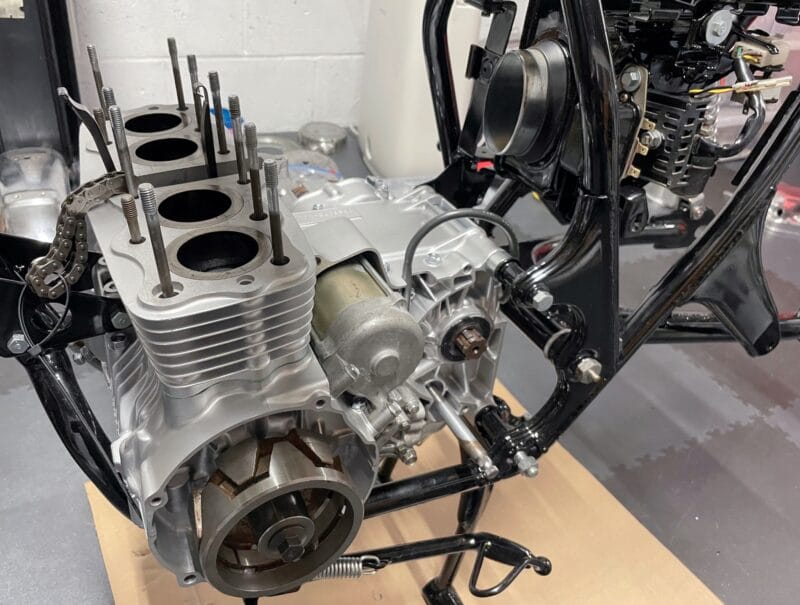
The main bearing shells were all good except for one which had a score along it and this was replaced. The barrel was sent for a rebore as the cylinder bores had areas of surface rusting. The primary chain, damper rubbers, cam chain and obviously the various seals were also replaced. The cam chain tensioner, which can be a common problem, moved freely with no signs of binding or damage. Clutch plates and springs were well within specification. The oil pump was assembled with new viton O rings from eBay seller, julies9731, who also sells Viton kits for other parts and other S.O.H.C. Hondas. The assembled bottom end was just about light enough for me to install it into the frame by myself.
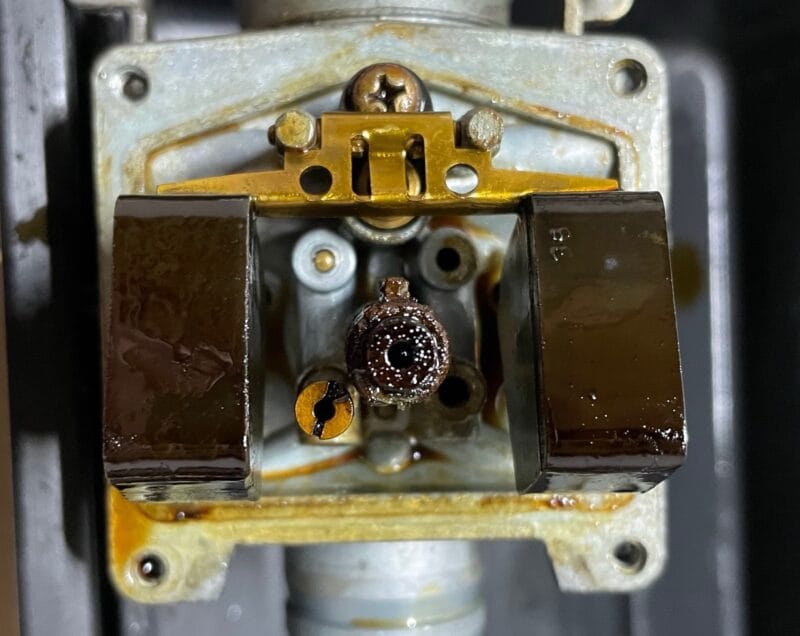
The carbs were stripped and cleaned ultrasonically. The bike had obviously stood for a long time and the carbs were gummed up with heavy “varnish” deposits. The carbs were assembled with viton O rings and initially, aftermarket main jets, float valves and seats. However when the build was completed I had intermittent problems with petrol overflowing. Replacing the valves and seats with genuine items solved the problem – lesson learned!
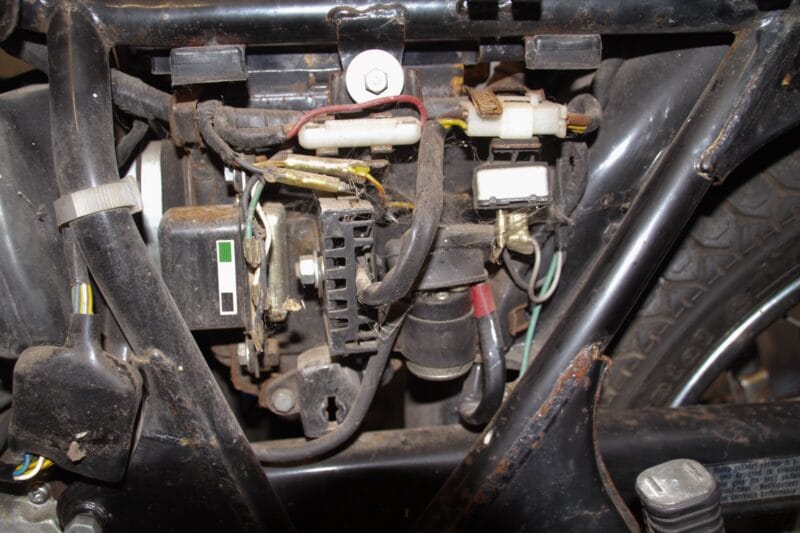
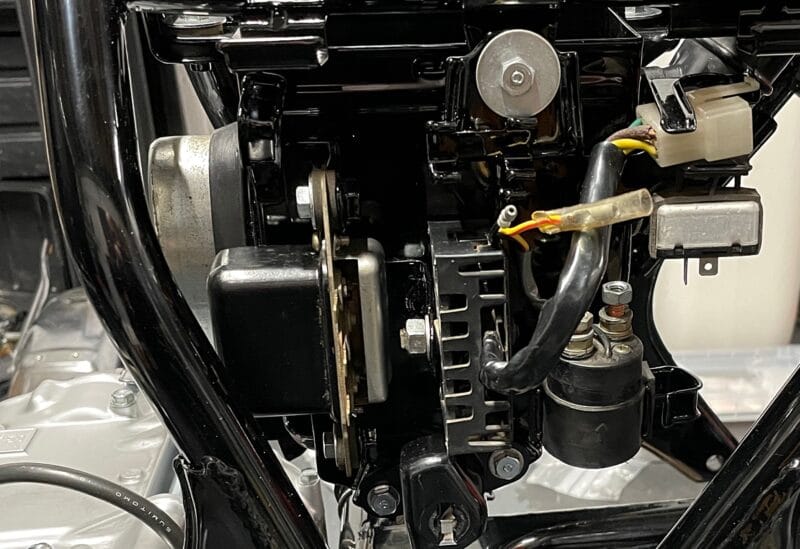
A replacement wiring harness from Electrex World was a necessary purchase as the existing harness was in poor condition and had been crudely modified. The regulator is a mechanical unit and was adjusted to the specifications in the manual. Forward and reverse continuity tests on the rectifier checked out ok.
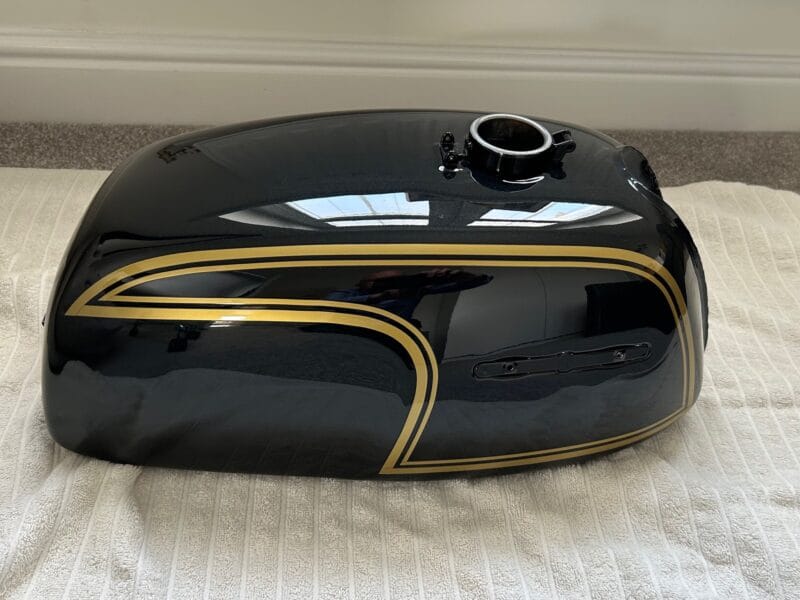
Depending on region, the CB350F was available 3 colours during 1972-73; Candy Bacchus Olive, Flake Matador Red and Metallic Silver. In 1974 the U.S. model came in Honda Glory Blue Black Metallic was my preferred option. There’s a lot of chrome on the bike and I think metallic blue black is the perfect complimentary colour. I entrusted the tank, panels, and shrouds to Rapier Paintwork, another company I’ve previously used that delivered excellent results.
My preference would be to have the original exhaust system or a copy, sadly there don’t seem to be any available currently. So I opted for a Delkevic 4-into-1 system with a reverse cone silencer. The appearance is in my opinion in keeping with the character of the model.
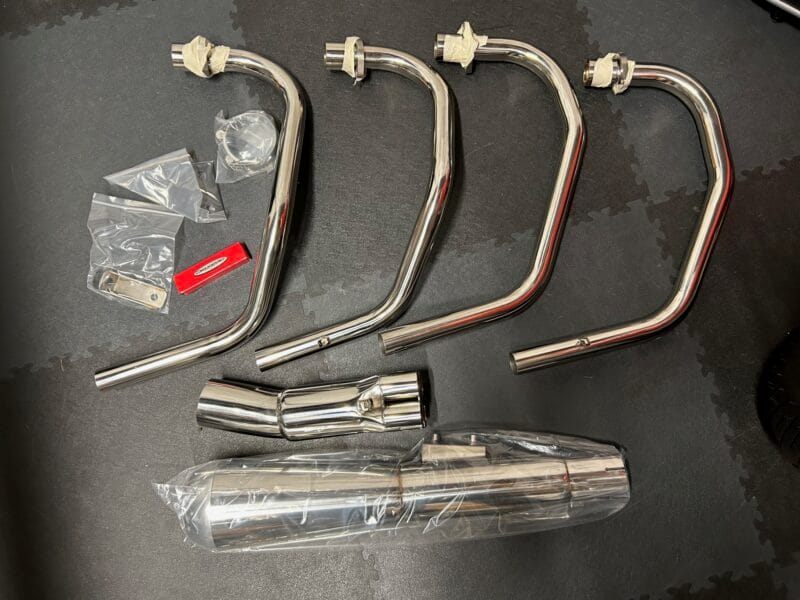
Fitting was a straight forward procedure, the pipes were numbered as were the corresponding inlets on the collector. It was just a matter of first installing pipes 1 and 2 to the head and then offering up the collector box. Pipes 3 and 4 were then fitted to the head and collector followed by the silencer. The whole assembly took a bit of pushing and pulling into position whilst tightening each bolt a little at a time. The last operation was to fit the springs which are really strong.
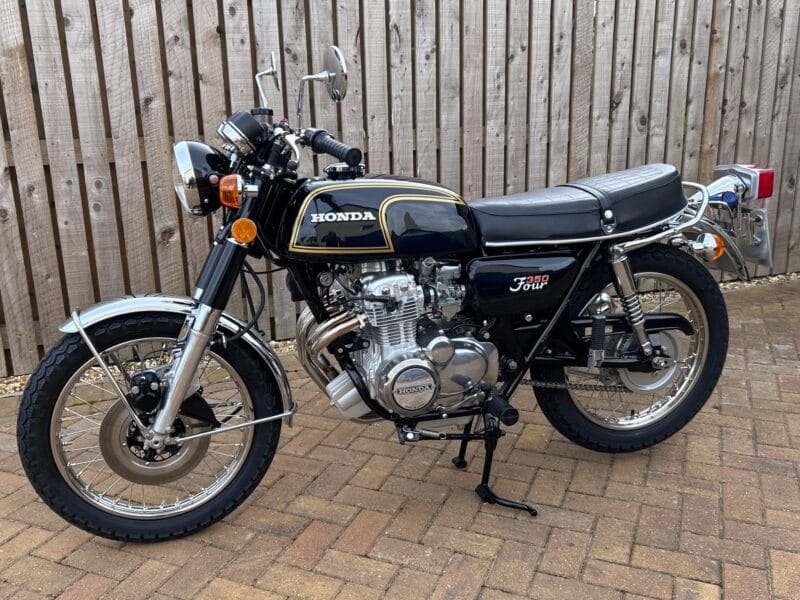
My search for EU model bars, which seem to have been on French and German models only, had drawn a blank. So looking for alternatives I tried some Euro spec 500-4 bars and they fit fine. The only change I had to make was to fit a shorter top brake hose. No need to change existing throttle and clutch cables. Feels just right now, not too upright, and looks better too.
So, how does it run? It starts on the button with a steady tick over after just a bench synch of the carburettors. Initially I was disappointed with the performance. It really needs to be revved to get any power, but changing up and down the gears is good fun and the 4 into 1 exhaust sounds nice without being too loud. The single disc front brake is much better than I expected it to be and stopping power is respectable.
Comments