A recent infotainment touchscreen fault known as Mazda ghost touch is the only problem I’ve had with my 2014 Mazda 3 hatchback in 5 years of ownership. At a standstill the touchscreen became erratic and unpredictable, making random selections from the various menus. Typically it would repeatedly (and embarrasingly!) phone contacts by the bluetooth connection, change the audio source and make the satnav unusable. It was impossible to navigate away. This short clip demonstrates the problem on my sound settings page.
An online search revealed that this is a known a problem, known as Mazda ghost touch, affecting some owners over the years. There was no problem whilst driving because the touchscreen is only enabled at very slow speeds or at a standstill as a safety feature.
Fortunately there’s a workaround to disable the touchscreen and just use the manual control dial instead. This has worked perfectly for me and best of all it’s a free solution. Not being able to use the touchscreen is only a minor inconvenience. As ever there’s plenty of information on YouTube and I found this video by martinc950 very helpful. Here’s a summary of how I got on.
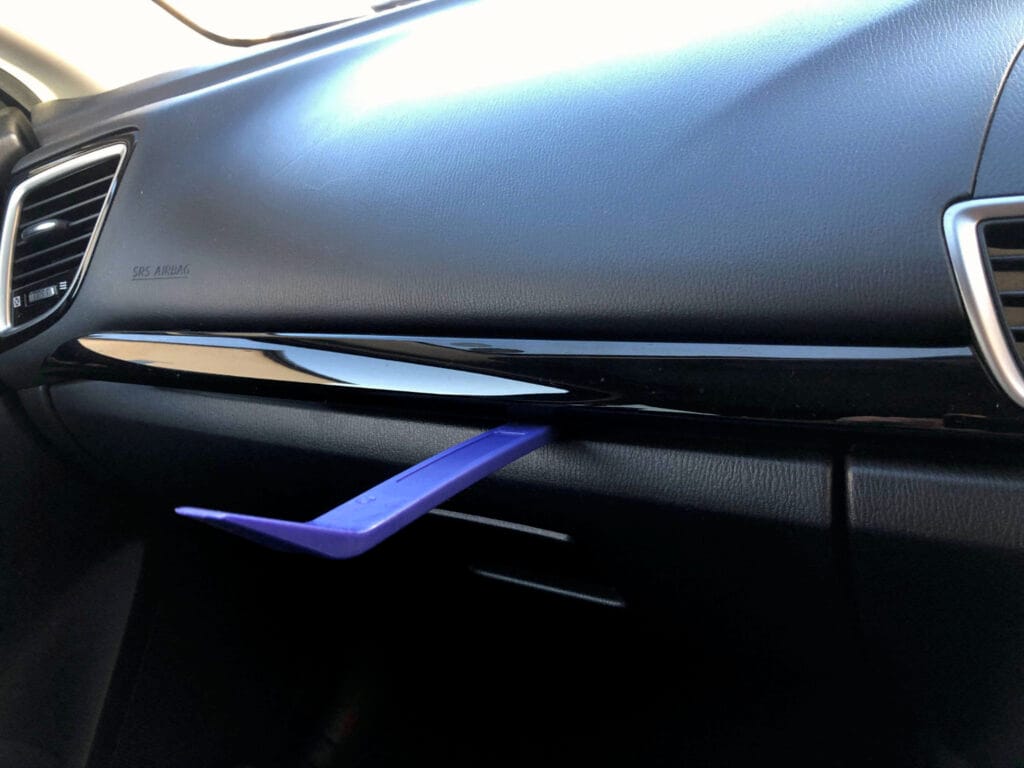
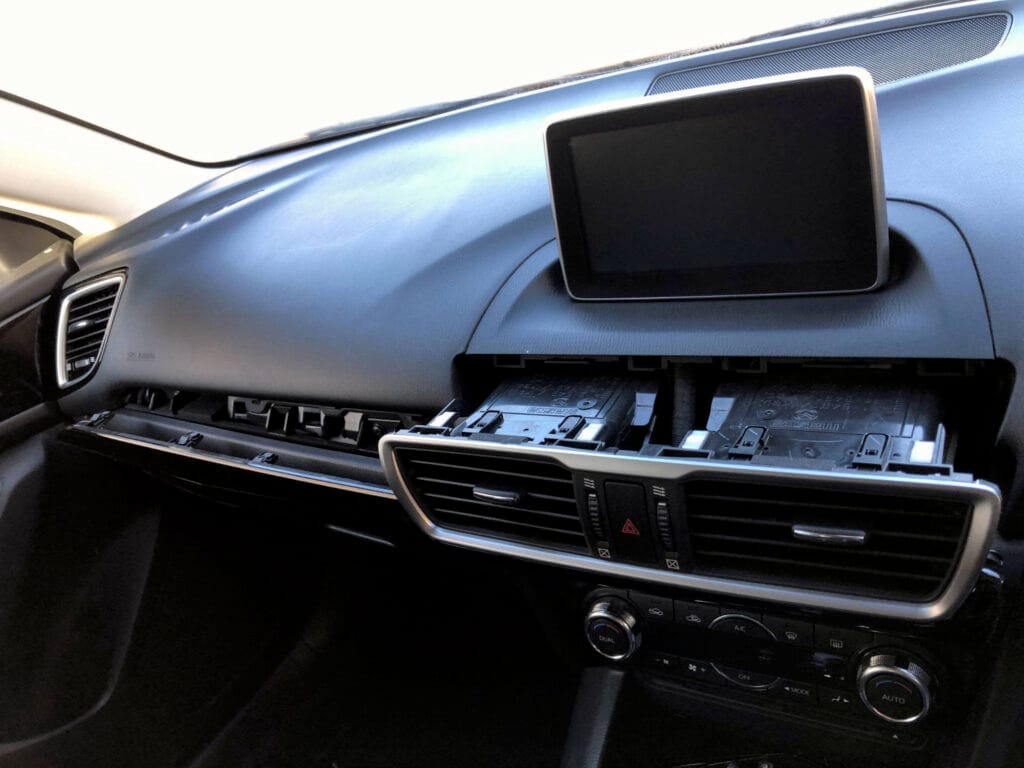
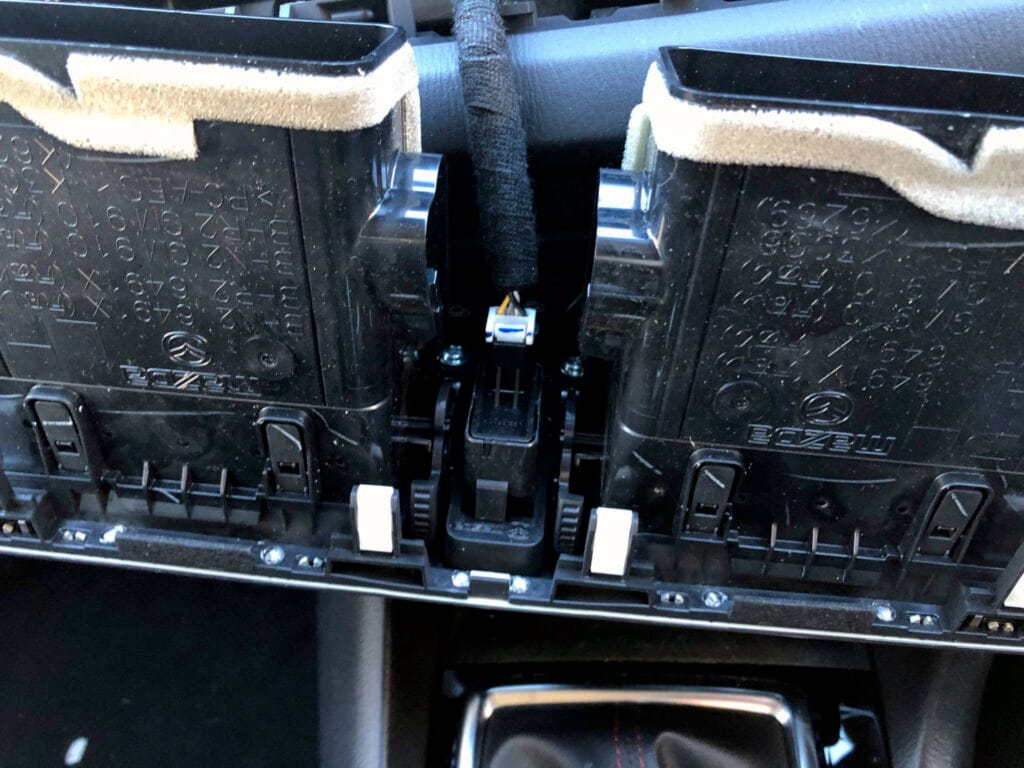
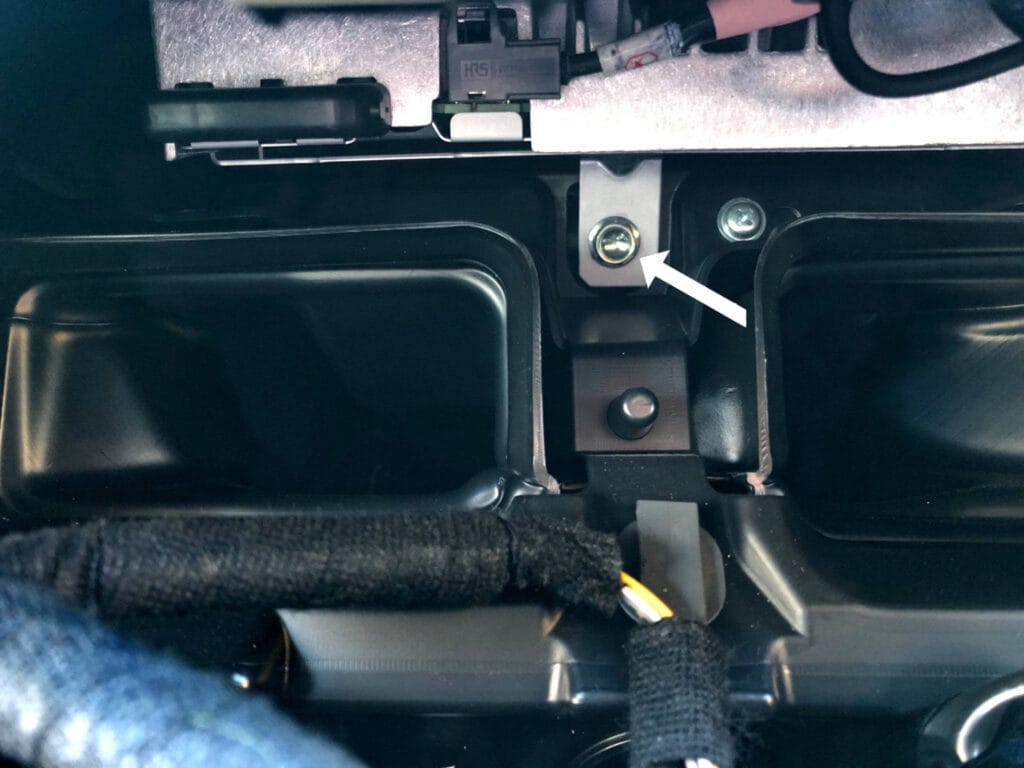
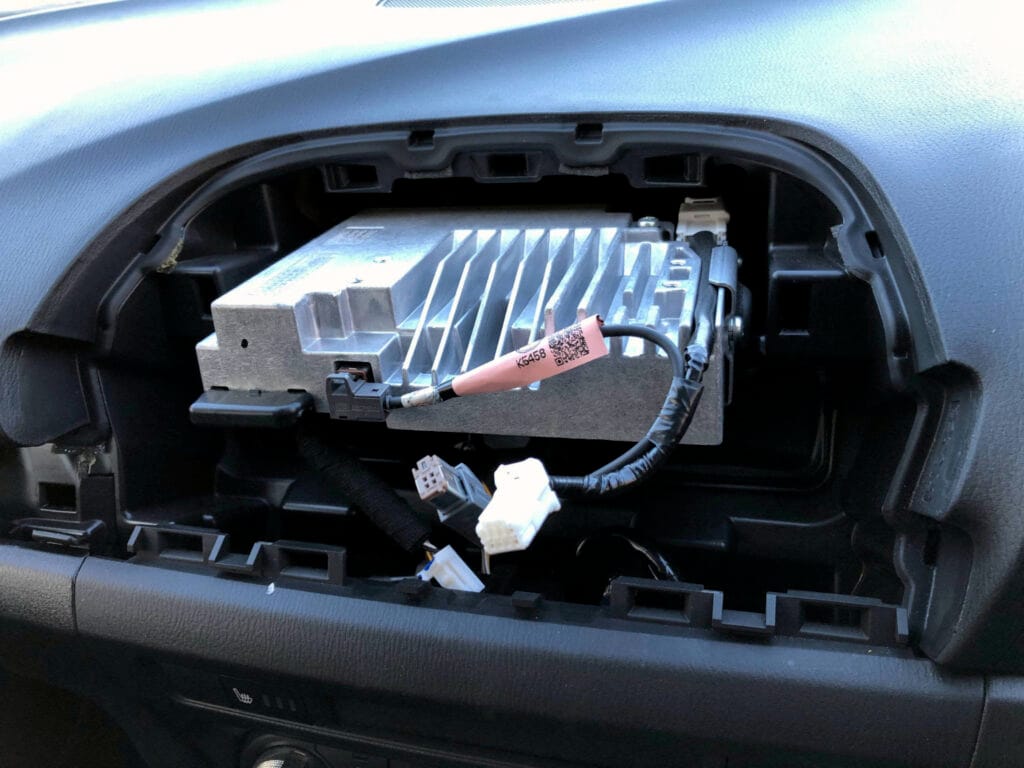
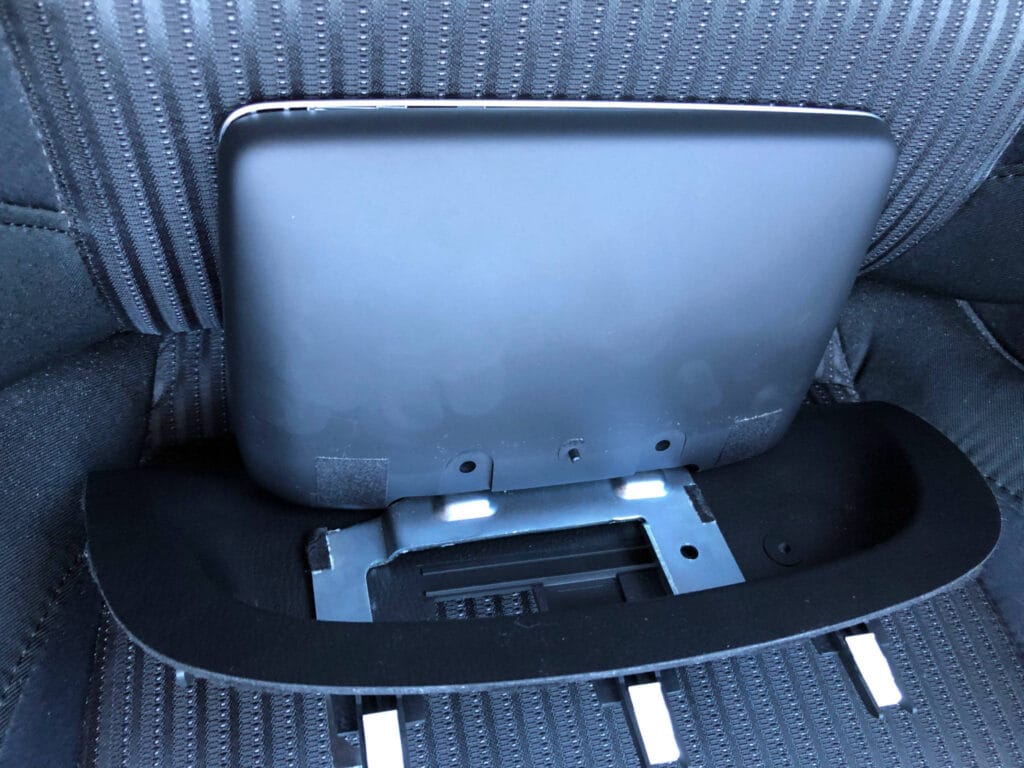
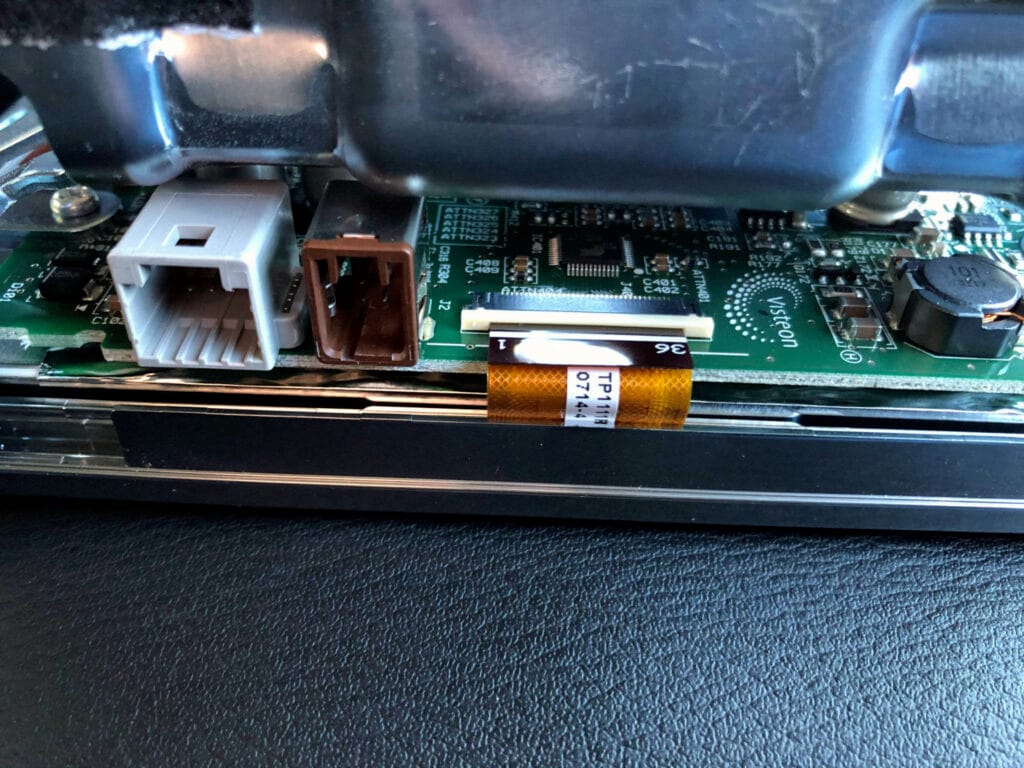
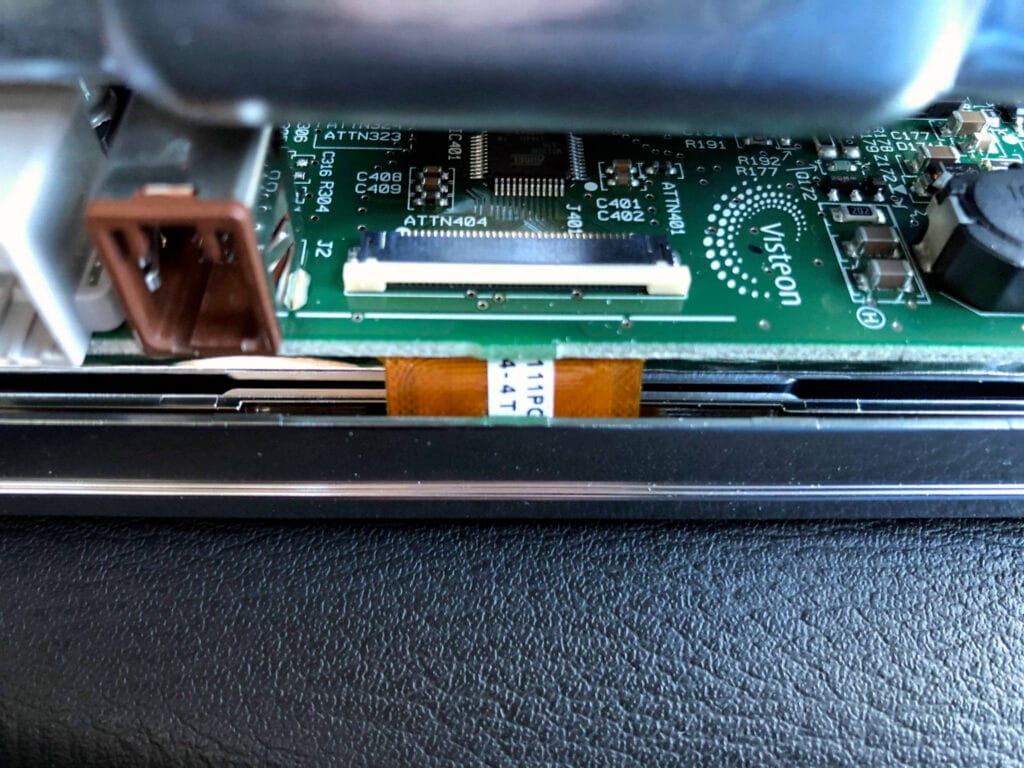
The process took me a couple of hours and the mod works perfectly. It could probably be completed in half the time but I purposely took my time to avoid damaging the trim.
Disclaimer: This is a summary of how the workaround worked for me. It is not the official or necessarily the correct way.
Comments